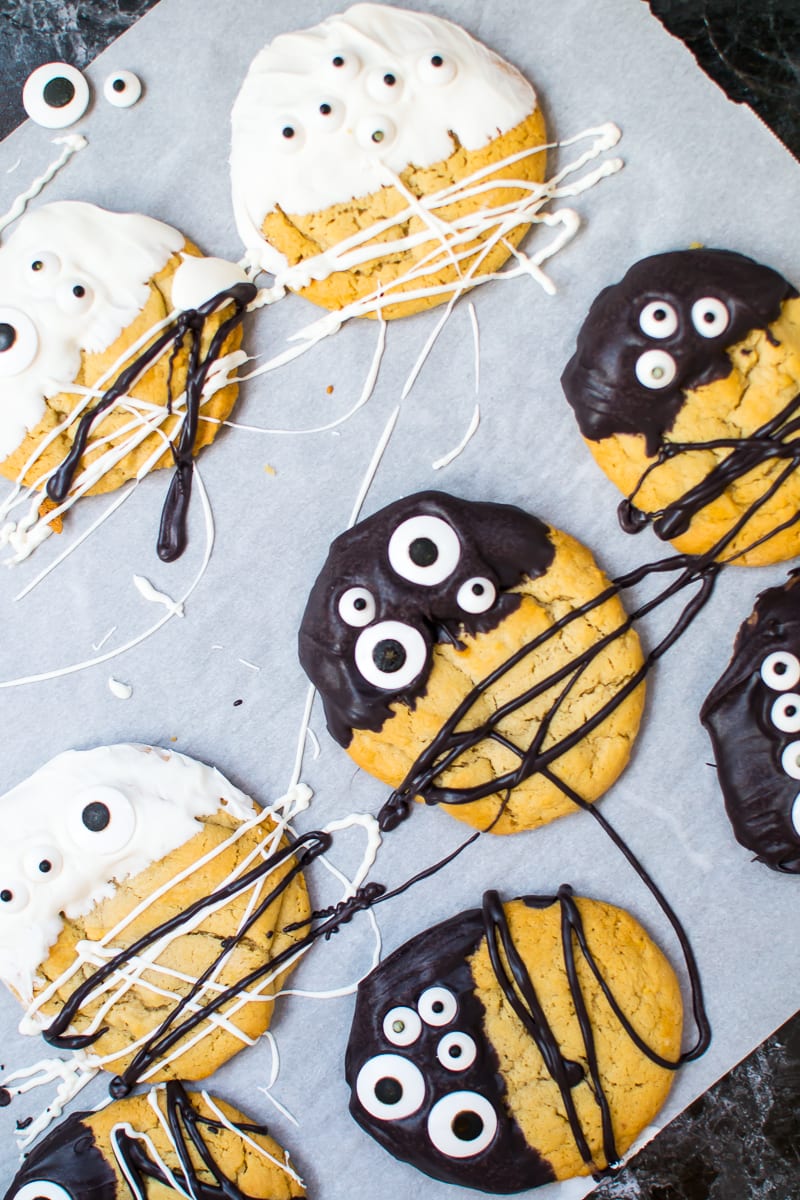
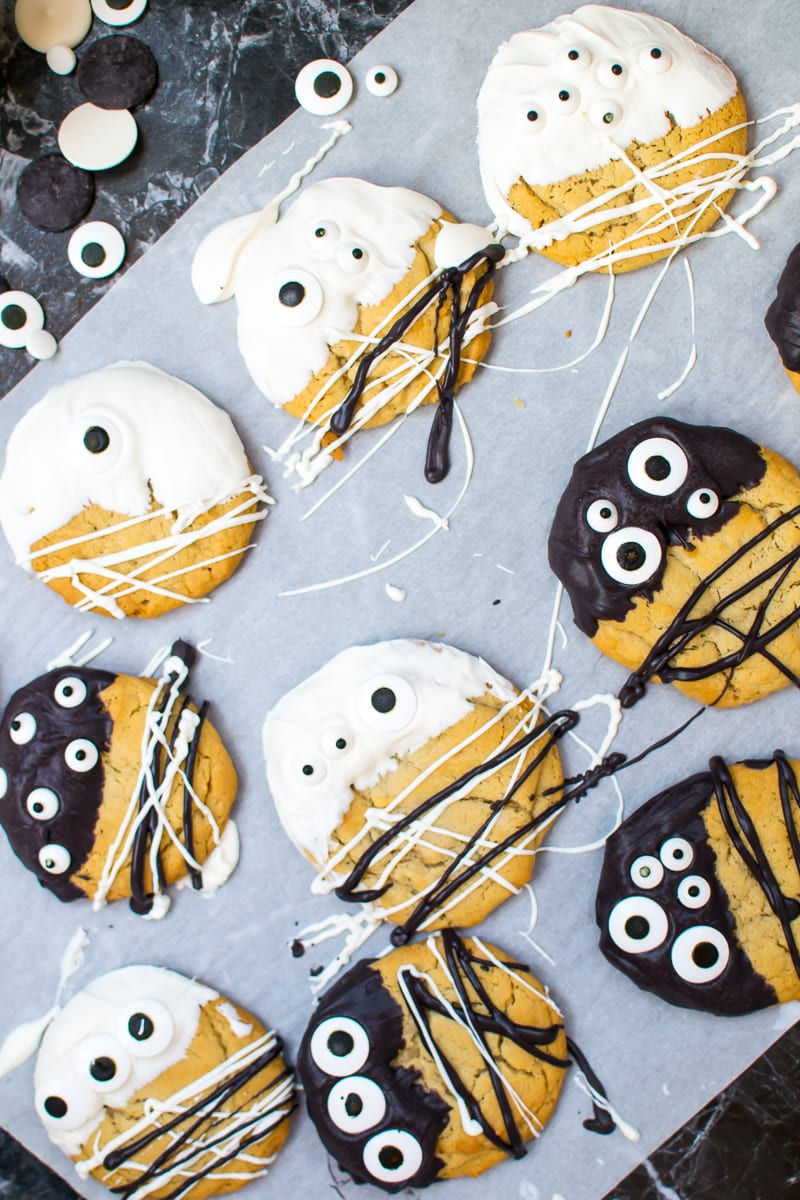
These black and white monster cookies are SOOOO Halloween… and incredibly adorbs! Right?! I KNOW.
I just love them!! BUT we’ll get back to them in a second.
I just got back from an awesome run in this BEAUTIFUL 50 degree weather and now I’m eating my lightened up crockpot chicken and dumplings while watching Twilight because I’m a twelve year old girl. I just love how chilly weather makes me want to curl up on the couch with a warm meal and/or drink and watch a movie that I’ve seen like 20 times. Just one of the millions of reasons that I love October.
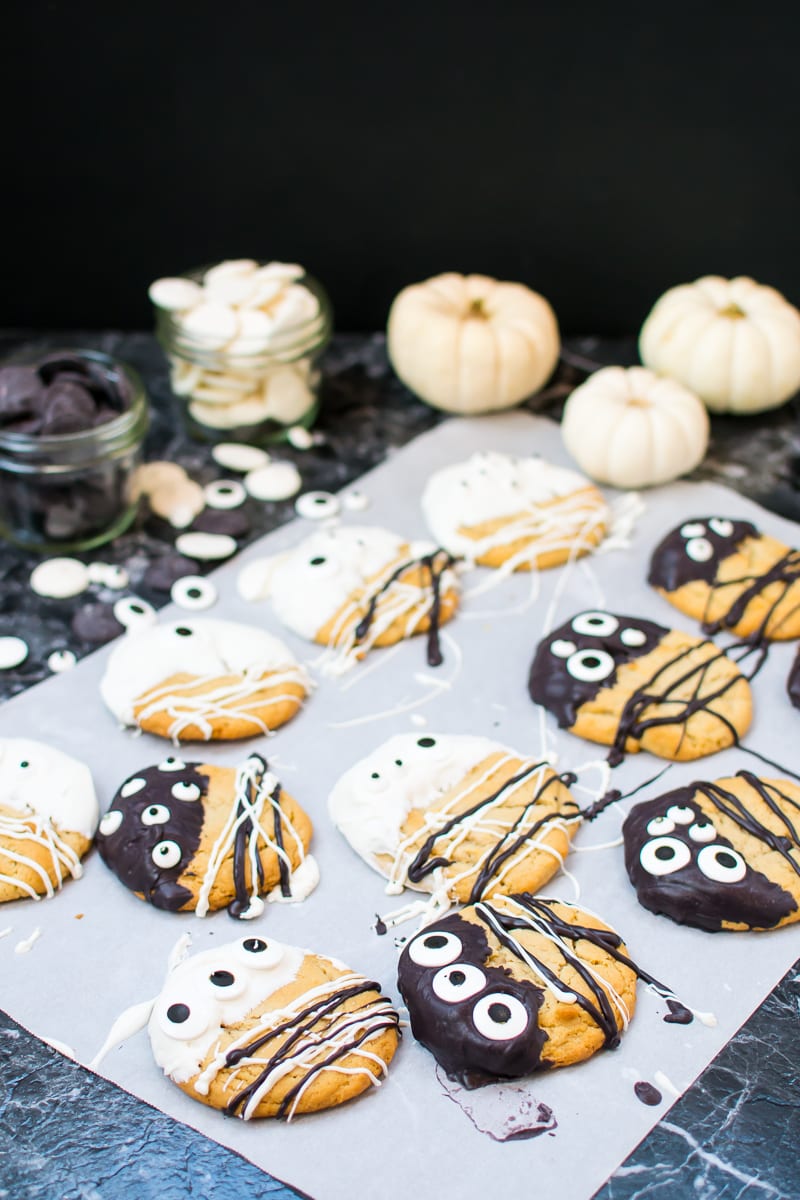
You know what’s another reason I love October? HALLOWEEN. OMG it’s simply the best. Spooky decorations, candy, costumes, goulish cocktails, you name it! And these black and white monster cookies fit right in with all their spooky sugary fun! They were inspired by some monster rice krispy treats that I saw on Pinterest. When I saw that pin, I thought “HEY what if I make these into monster sugar cookies!!”
Guess what?! I DID JUST THAT.
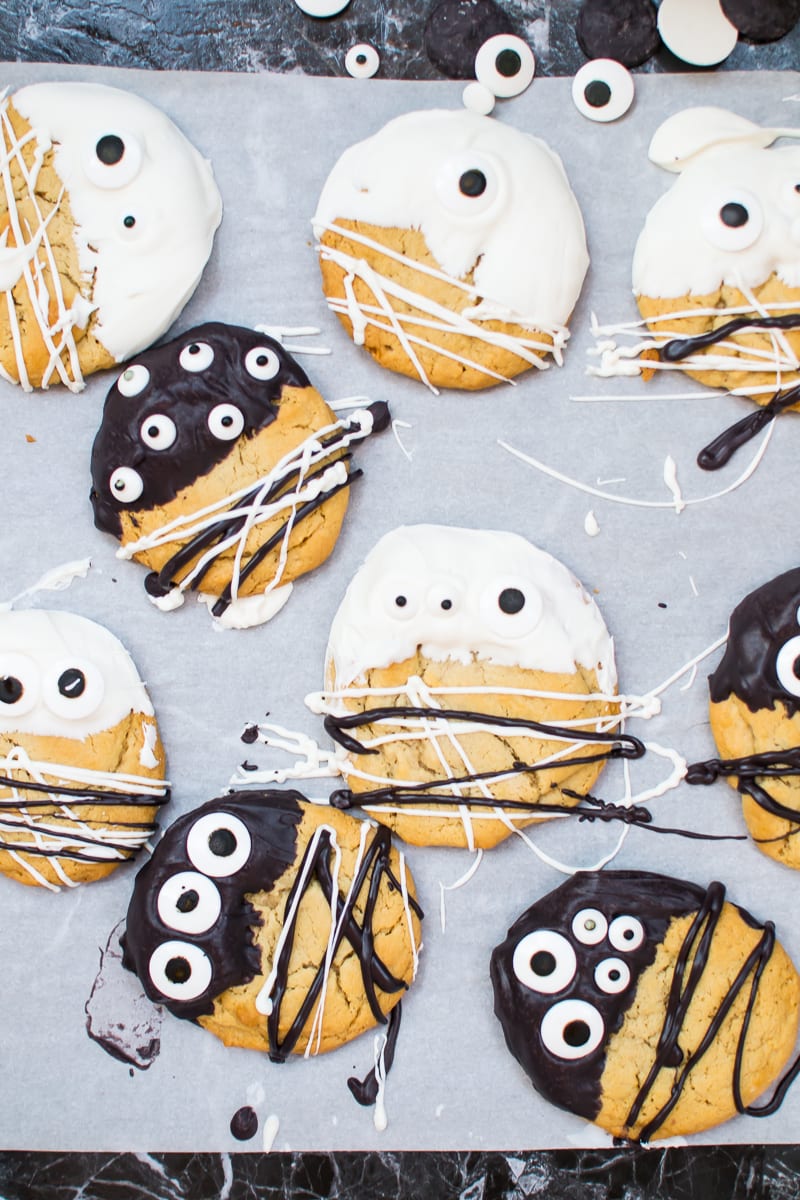
If you follow me on Instagram then you know that I originally tried these in a colored version but they looked too much like cookie monster rather than MONSTER COOKIES. So I remade them with only black and white candy coating plus some scary drizzle and they turned out perfect for Halloween.
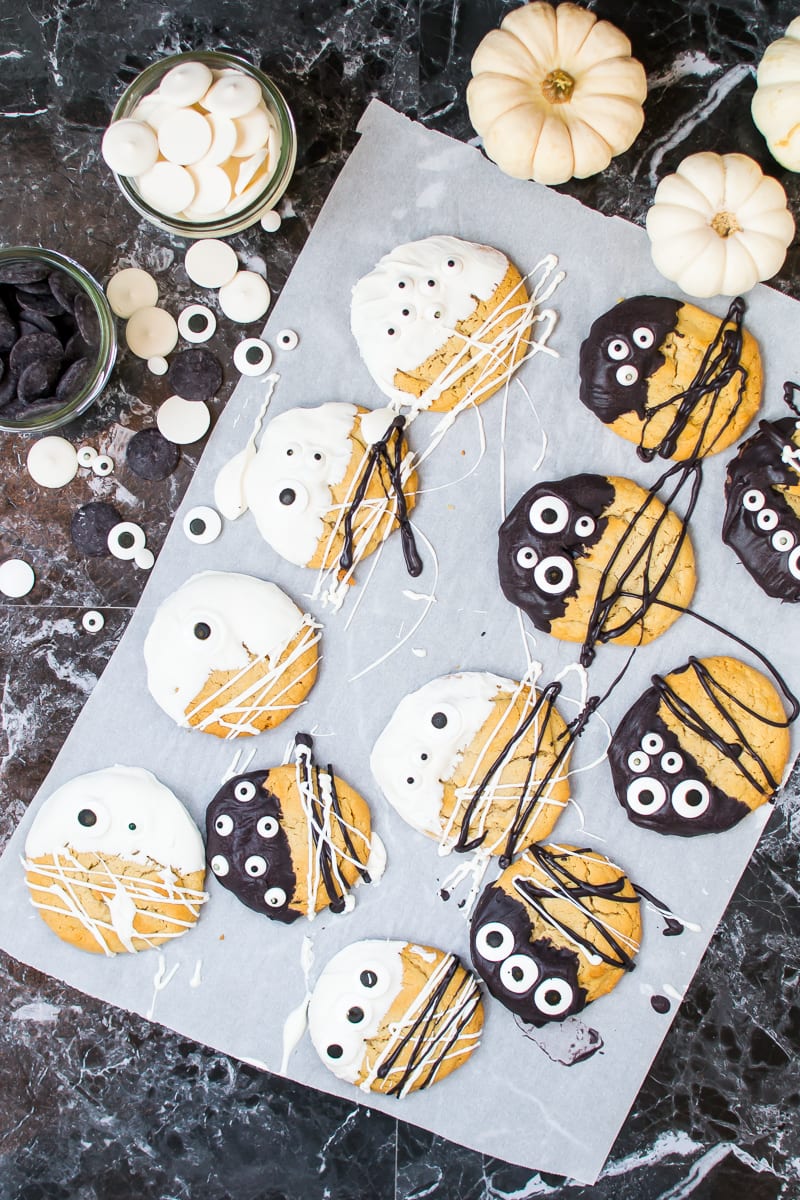
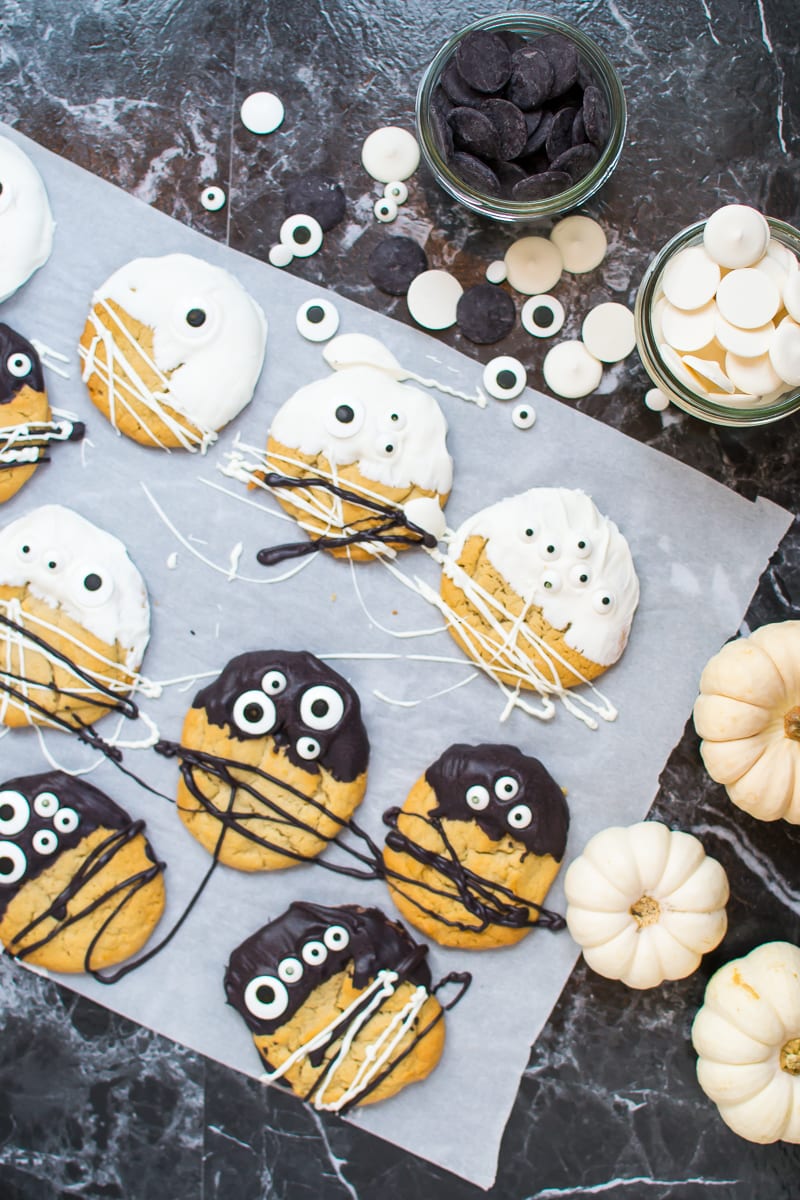
So the basic recipe is any old cookie recipe, I used Gimme Some Oven’s chocolate “chip-less” cookie recipe, then white and black candy melts plus two different sized candy eyes! You bake the cookies (try make them different sizes), let them cool, dunk them in melted candy melts, add googly eyes, drizzle extra candy coating then voilà! You’ve got yourself some spooky black and white monster cookies.
I do recommend using a more basic cookie recipe like sugar cookies so that the candy coating and eyes shine! But you could totally use your fave chocolate chip cookie recipe, pumpkin cookie recipe, you name it!
Now, I don’t recommend passing these out to kids on Halloween night because you don’t want to be that weird house who passes out homemade food BUT I do recommend making them for any Halloween parties you may host or attend!
Ingredients
- 3 cups all-purpose flour
- 1 tablespoon + 1 teaspoon (aka 4 teaspoons) cornstarch
- 2 teaspoons baking soda
- 1 teaspoon salt
- 1 cup butter, room temperature
- 1 cup brown sugar, packed
- 2/3 cup granulated sugar
- 2 eggs
- 1 tablespoon + 1 teaspoon (aka 4 teaspoons) vanilla extract
- 1 (12oz) bag bright white candy melts
- 1 (10-12oz) bag black candy melts
- jumbo candy eyes
- small candy eyes
- vegetable oil
- parchment paper
Instructions
- Preheat oven to 350°F. Line two baking sheets with parchment paper.
- In a medium bowl, whisk together flour, cornstarch, baking soda, and salt until well combined.
- In the bowl of a stand mixer fitted with the paddle attachment, cream the butter and sugars together on medium-high speed until light and fluffy, about 3 minutes. Add in eggs and vanilla then mix until combined. Change speed to medium-low then slowly add in dry ingredients from step two then mix until combined.
- Chill dough in the fridge for about 30 minutes.
- Once chilled, scoop dough out of the bowl (I like to use an ice cream scoop for this) then roll it into 1-inch-ish sized balls. Place dough balls on the parchment paper lined baking sheets from step one. For these monster cookies only, I like to make my dough balls slightly different sizes so that my “monsters” aren’t all the same shape and size.
- Bake cookies for 10-14 minutes or until the edges are slightly golden and just set. Let the cookies cool completely before beginning the candy coating steps.
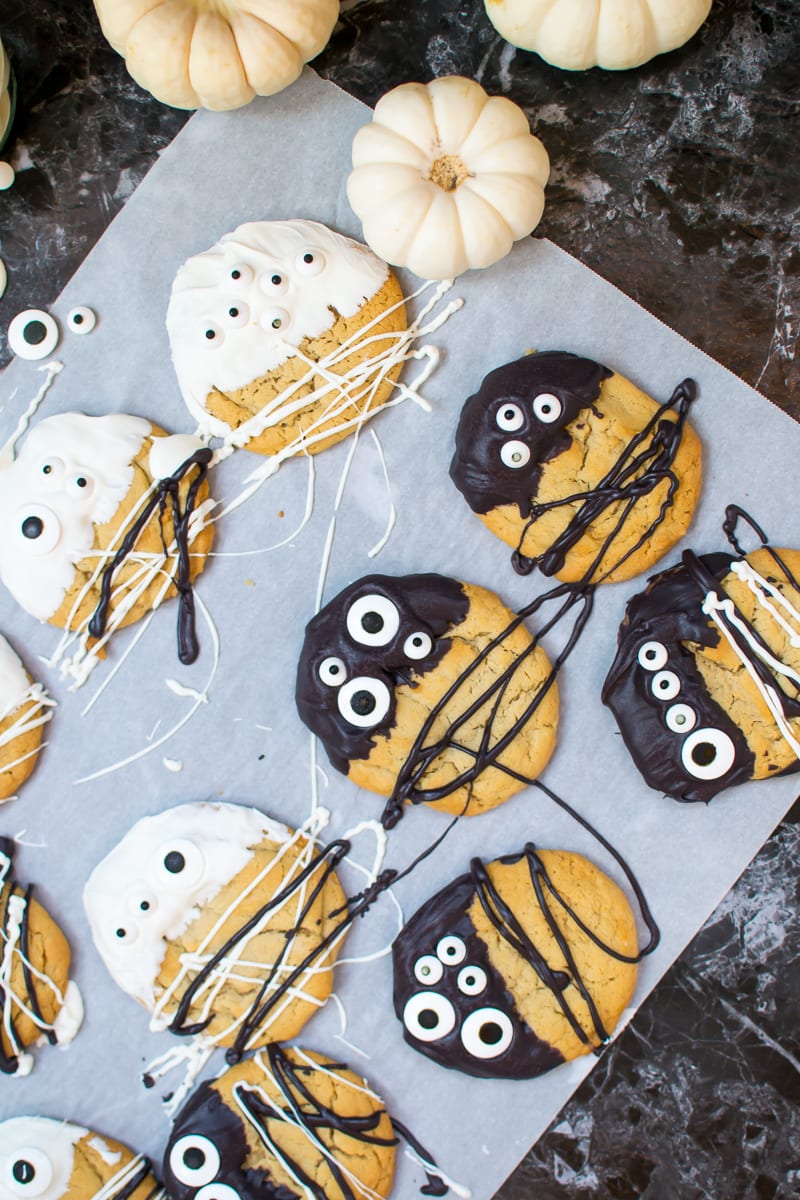
- Melt the white and black candy melts in separate bowls according to their package instructions. Lay out two pieces of parchment paper on your workspace. Once the candy melts are completely melted and smooth, take one cookie and dip half of it in the white or black candy coating then place it on the parchment paper. Gently press candy eyes into candy coating to create your monster’s “head”. Repeat process alternating dipping the cookies in the white or black candy coating. Also, change up the size eyes and combination you do so they all look different and spookier.
- Once all the cookies are half coated and have eyes, add the tiniest splash of vegetable oil (like less than 1/2 teaspoon) to both the white and black candy coating bowls. Stir them up using a rubber spatula until super silky smooth. Transfer the remainder of the white and black candy coating to separate ziploc bags. Snip off like 1/16th of an inch corner then “pipe” white and black drizzle over the bottom half (aka not coated) part of the cookies. Allow to cool at room temperature about one hour or until candy coating is hard. Enjoy!
Notes
Cookie recipe from Gimme Some Oven. Monster candy coating idea inspired by One little Project.

If you try this recipe, let me know! Leave a comment or tag a photo #appetitesanonymous on instagram!! I’d love to see your monster cookies in action. Peace, friends!
– a